
| 일 | 월 | 화 | 수 | 목 | 금 | 토 |
|---|---|---|---|---|---|---|
| 1 | ||||||
| 2 | 3 | 4 | 5 | 6 | 7 | 8 |
| 9 | 10 | 11 | 12 | 13 | 14 | 15 |
| 16 | 17 | 18 | 19 | 20 | 21 | 22 |
| 23 | 24 | 25 | 26 | 27 | 28 | 29 |
| 30 |
- SASS
- C++
- 프로그래밍
- bip39
- three.js
- algorithm
- scss
- baekjoon
- 백준
- 기본 수학 2단계
- 풀이
- SVG
- 리액트
- 우선순위 큐
- frontend
- 지갑
- 기본수학1단계
- React
- Blockchain
- Storybook
- Mnemonic
- 에러
- 코딩
- TypeScript
- 블록체인
- Console
- 알고리즘
- 스토리북
- priority queue
- 니모닉
- Today
- Total
Moong
[React] Notification custom hook 만들기 - 알림 아이콘, 알림음 설정 본문
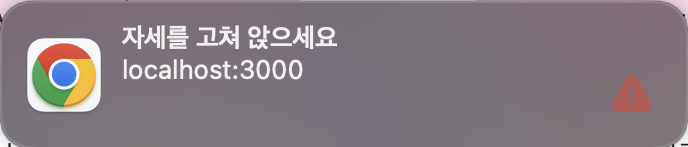
오늘은 아이콘과 알림음을 포함한 알림을 보내줄 수 있는 React custom hook을 만드는 법에 대해 알려드리겠습니다! 🔔
Notification API
Notification API를 사용하면 웹에서도 사용자들에게 알림을 보내줄 수 있습니다.
Notification 객체를 사용하면 쉽게 구현이 가능합니다!
const notification = new Notification("Hi there!");
Notification 허용 상태
아래 화면을 다른 사이트들에서 많이 보셨죠!
유저가 해당 웹 사이트의 알림 권한을 허용했는 지에 따라 notification permission의 상태가 달라지게 됩니다.
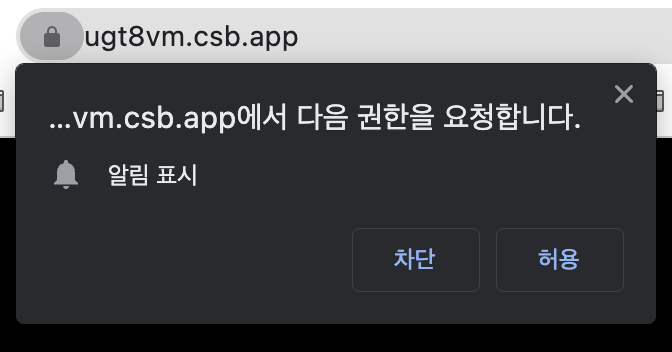
1️⃣ default : 유저가 허용하지도, 차단하지도 않은 상태입니다.
2️⃣ grant : 유저가 알림을 허용한 상태입니다.
3️⃣ denied : 유저가 알림을 차단한 상태입니다.
Notification 지원 브라우저
해당 기능을 지원하지 않는 브라우저도 있으니 아래 표를 참고해주세요!
안드로이드는 아직 Notification 기능이 지원되지 않습니다.

Custom Hook
사용자가 알림 권한을 허용해두지 않았을 때 아예 알림이 가지 않으니 계속 권한을 요청하면 좋겠죠!
또 단순한 알림이 아닌, 알림에 들어가는 아이콘, 텍스트, 또 알림음이 나도록 좀 더 고도화 된 알림을 손쉽게 보내고자
usePushNotification이라는 이름의 custom hook을 만들어 보려고 합니다.
1. Notification 상태 확인하기
notification 이 존재하는지 / permission 허용 상태인지 확인합니다.
notification이 존재하지 않으면 존재하지 않는다고 알림을 보내고,
permission이 허용되지 않은 상태이면 requestPermission을 통해 다시 권한을 요청합니다.
    // Notification이 존재하는 지 확인
    if (!Notification) {
      alert("This browser does not support desktop notification");
    }
    // 푸시 알림을 허용하지 않은 경우 - 다시 허용 물어보기
    else if (Notification.permission !== "granted") {
      try {
        Notification.requestPermission().then((permission) => {
          if (permission !== "granted") return;
        });
      } catch (error) {
        if (error instanceof TypeError) {
          Notification.requestPermission().then((permission) => {
            if (permission !== "granted") return;
          });
        } else {
          console.error(error);
        }
      }
    }
2. Notification type 객체로 관리하기 (선택사항)
상황에 따라 알림을 유형화 해두면 편리합니다.
저는 알림 유형을 두 가지 유형으로 나누고, 알림에 들어갈 이미지와 알림음을 객체로 만들었습니다.
1️⃣ DEFAULT : 일반 알림
2️⃣ WARNING : 경고 알림
import positiveSoundSource from "../assets/music/positive.mp3";
import warningSoundSource from "../assets/music/warning.wav";

const positiveSound = new Audio(positiveSoundSource);
const warningSound = new Audio(warningSoundSource);

const notificationTypeList = [
   { typeId: "WARNING", image: warningImage, sound: warningSound },
   { typeId: "DEFAULT", image: correctImage, sound: positiveSound }
];
3. 알림 보내기
useRef notificationRef : 알림 객체를 여기에 담아서 관리합니다 -> 클릭 이벤트를 사용할 수 있습니다.
func setNotificationClickEvent : 알림을 클릭하면 해당 알림이 발생한 화면으로 이동합니다.
func fireNotification : 알림 내용, 알림 type 을 인자로 받아 해당 알림을 보냅니다.
// 알림을 담을 변수
const notificationRef = useRef();

// 알림 클릭을 제어하는 함수 - 알림이 발생한 화면으로 이동
const setNotificationClickEvent = () => {
    notificationRef.current.onclick = (event) => {
      event.preventDefault();
      window.focus();
      notificationRef.current.close();
    };
};

// 알림 보내는 함수
const fireNotification = (title, alertTypeId = "DEFAULT", options = {}) => {
    let alertType = notificationTypeList.find((el) => el.typeId === alertTypeId);

    const newOption = {
      badge: "",
      icon: alertType.image,
      ...options
    };

    // notificationRef에 Notification 객체를 넣음
    notificationRef.current = new Notification(title, newOption);

    // 알림음 재생
    alertType.sound.play();

    // click event
    setNotificationClickEvent();
 };
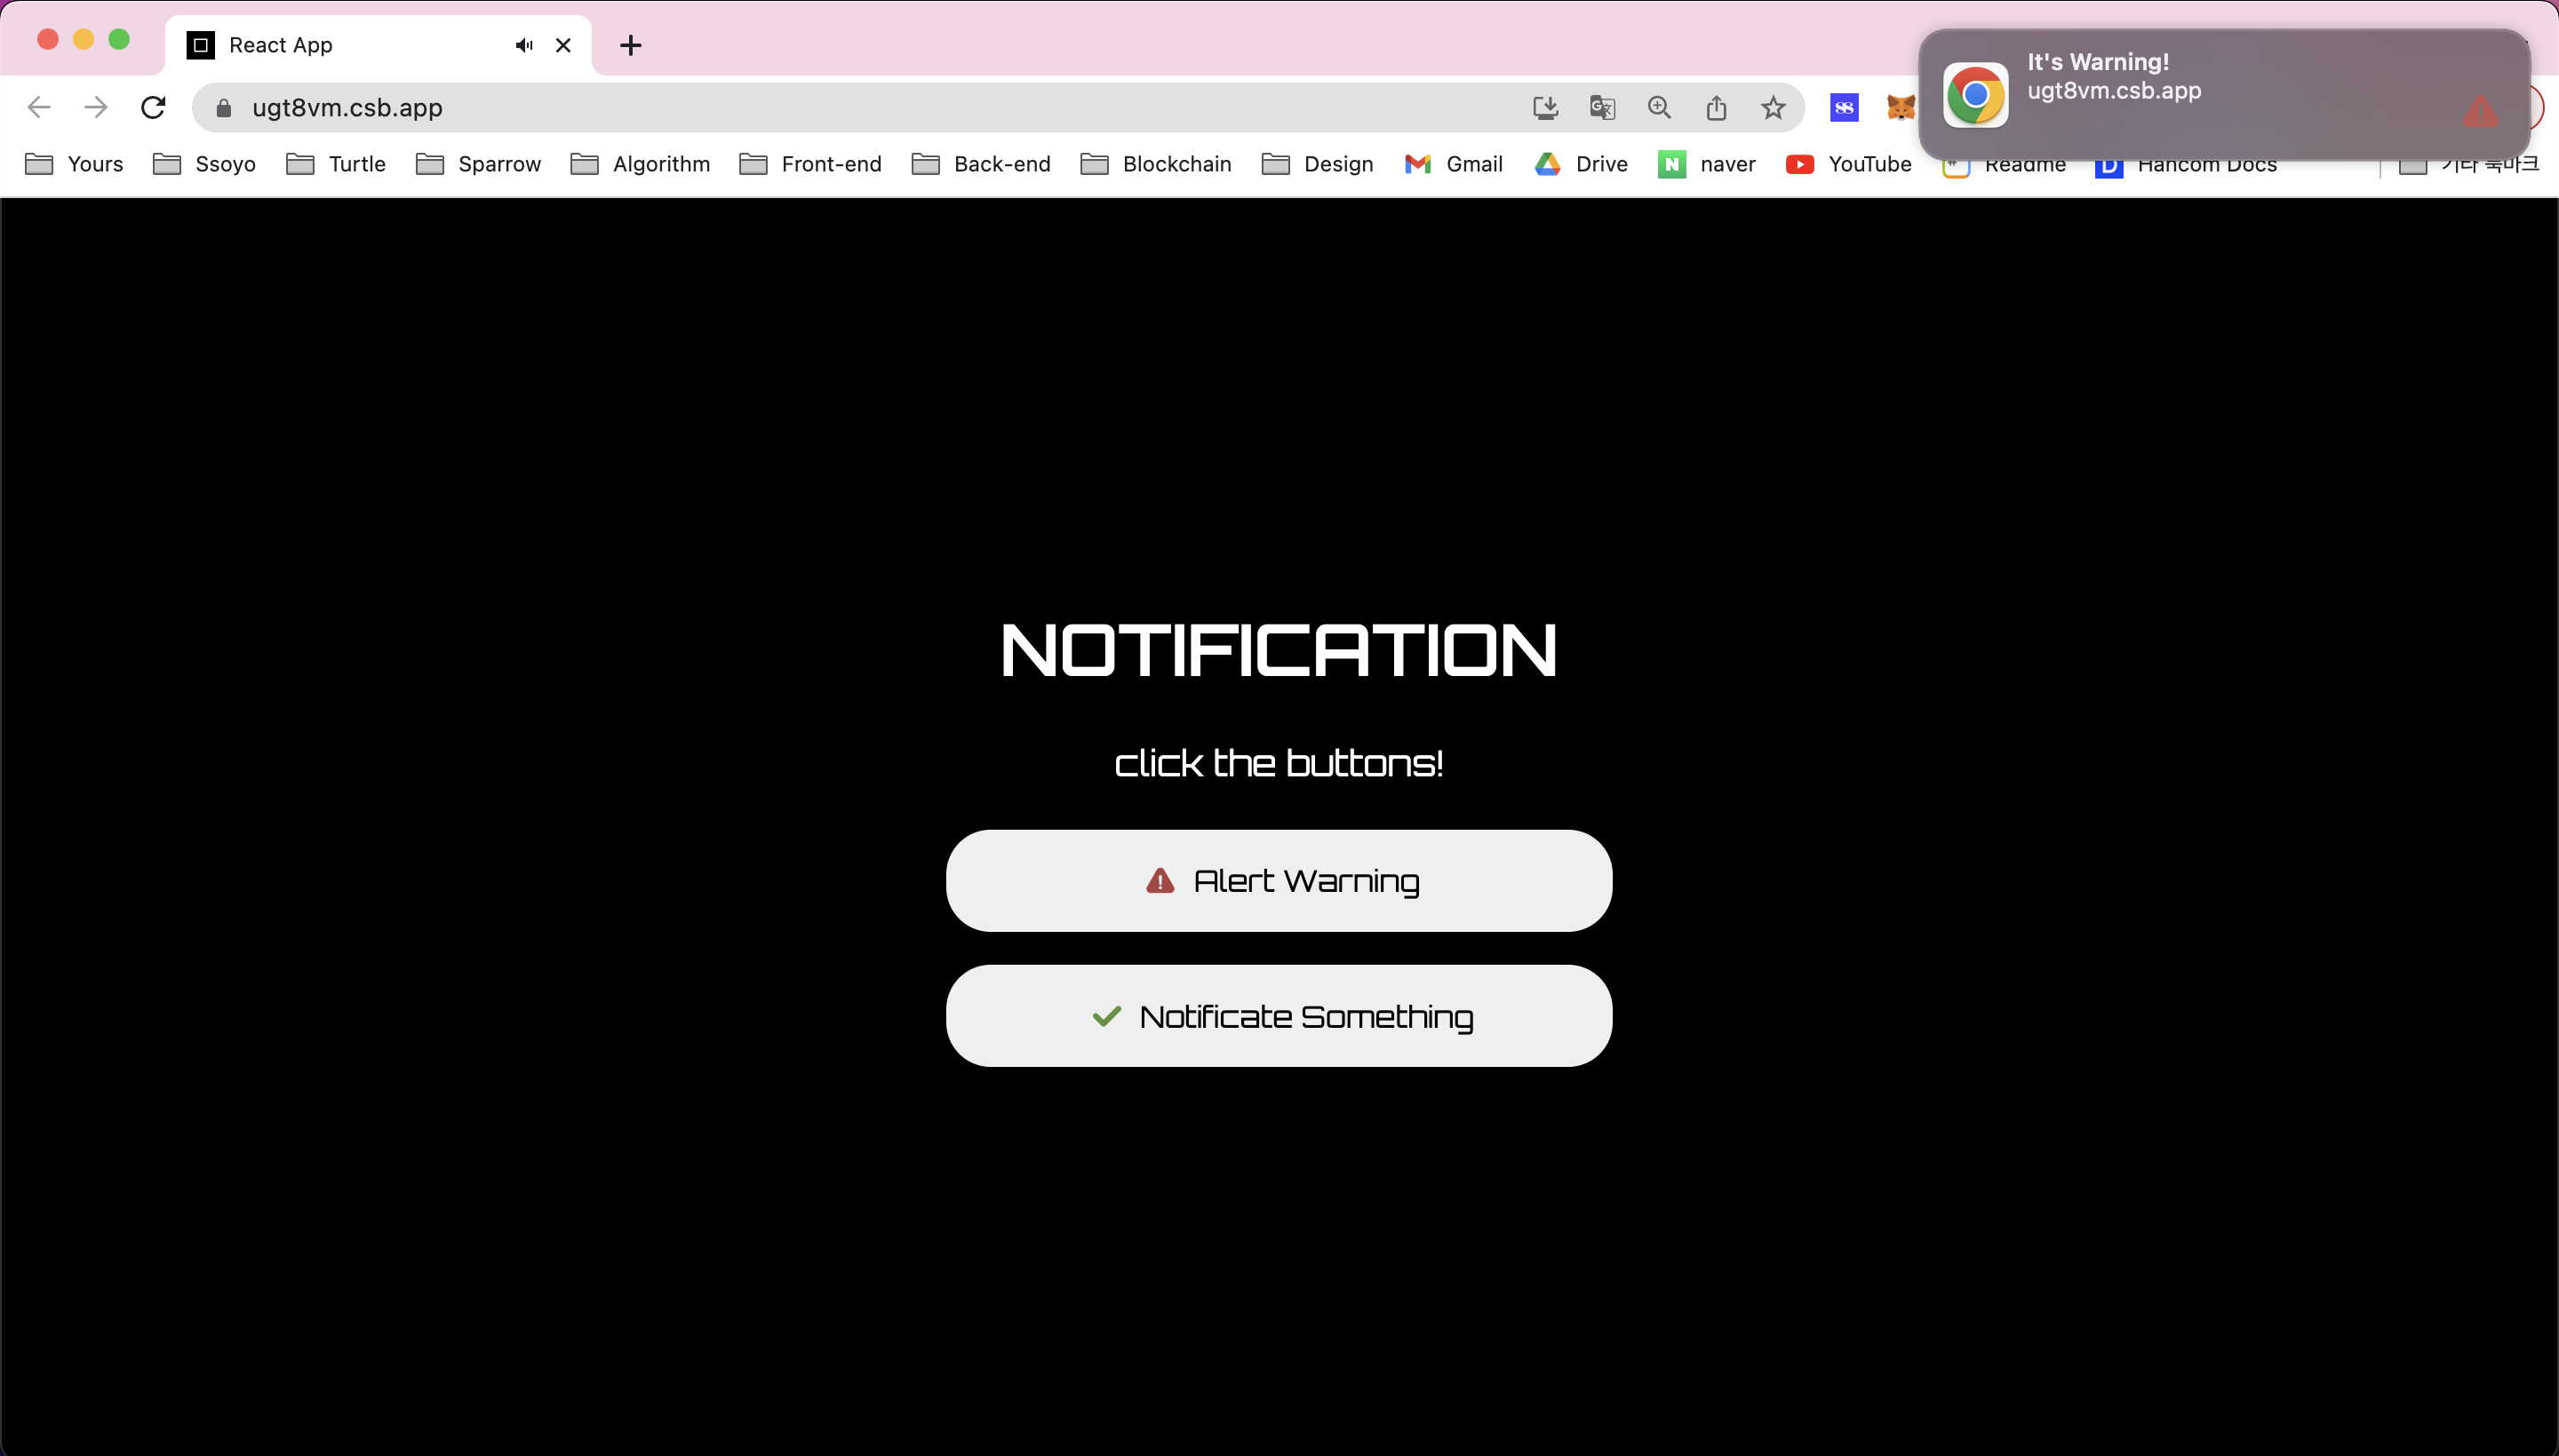
전체 코드
아래는 전체 코드와 구현 화면입니다.
// App.jsx
import usePushNotification from "./hooks/usePushNotification";
import warningImg from "./assets/images/warning.png";
import correctImg from "./assets/images/correct.png";
import "./styles.css";

export default function App() {
  const { fireNotification } = usePushNotification();

  return (
    <div className="App">
      <h1>NOTIFICATION</h1>
      <div className="description">click the buttons!</div>
      <div className="button-wrapper">
        <button
          onClick={() => {
            fireNotification("It's Warning!", "WARNING");
          }}
        >
          <img src={warningImg} alt="warning" />
          Alert Warning
        </button>
        <button
          onClick={() => {
            fireNotification("It's Notification!", "DEFAULT");
          }}
        >
          <img src={correctImg} alt="notificate" />
          Notificate Something
        </button>
      </div>
    </div>
  );
}
// usePushNotification.js
import { useEffect, useRef } from "react";
import warningImage from "../assets/images/warning.png";
import correctImage from "../assets/images/correct.png";
import positiveSoundSource from "../assets/music/positive.mp3";
import warningSoundSource from "../assets/music/warning.wav";
const positiveSound = new Audio(positiveSoundSource);
const warningSound = new Audio(warningSoundSource);
const usePushNotification = () => {
const notificationRef = useRef(null);
const notificationTypeList = [
{ typeId: "WARNING", image: warningImage, sound: warningSound },
{ typeId: "DEFAULT", image: correctImage, sound: positiveSound }
];
useEffect(() => {
// Notification 지원되지 않는 브라우저 대응
if (!Notification) {
alert("This browser does not support desktop notification");
}
// 푸시 알림을 허용하지 않은 경우 - 다시 허용 물어보기
else if (Notification.permission !== "granted") {
try {
Notification.requestPermission().then((permission) => {
if (permission !== "granted") return;
});
} catch (error) {
if (error instanceof TypeError) {
Notification.requestPermission().then((permission) => {
if (permission !== "granted") return;
});
} else {
console.error(error);
}
}
}
}, []);
// 유저가 림을 클릭하면, 푸시 알림이 일어난 화면으로 이동
const setNotificationClickEvent = () => {
notificationRef.current.onclick = (event) => {
event.preventDefault();
window.focus();
notificationRef.current.close();
};
};
const fireNotification = (title, alertTypeId = "DEFAULT", options = {}) => {
let alertType = notificationTypeList.find((el) => el.typeId === alertTypeId);
const newOption = {
badge: "",
icon: alertType.image,
...options
};
alertType.sound.play();
// notificationRef에 Notification 객체를 넣음
notificationRef.current = new Notification(title, newOption);
// click event
setNotificationClickEvent();
};
return { fireNotification };
};
export default usePushNotification;
CodeSandBox
해당 코드를 code sand box에 올려두었습니다.
아래 링크로 들어가서 알림 허용을 하시고 버튼을 누르면 알림을 확인하실 수 있습니다!
'React' 카테고리의 다른 글
| [React+Typescript] Storybook에 라우터(react-router-dom) 설정하기 (0) | 2023.05.04 |
|---|---|
| [React+Typescript] Storybook에 sass 설정하기(sass 에러 나는 경우) (0) | 2023.05.04 |
| [React+Typescript] Storybook에 Redux 설정하는 법 - could not found react-redux context value 에러 해결 (0) | 2023.05.03 |
| [React+Typescript] Storybook 에러 해결법 - element type is invalid (0) | 2023.05.03 |
| [React+Typescript] Storybook 도입하기 (0) | 2023.05.03 |


